Gallery Wall
Lorna has the habit of picking up prints and pictures from the various places she has visited without any real thought of where she is going to put them. Sound familiar? The idea of having art in the home that reminds her of a special time and place or is customised and makes her smile thinking of a moment is simply too appealing to resist. This method of curation did leave her with a bundle of eclectic prints with no home that sat about in a pile in our spare room for a good few years and was definitely not 'sparking joy', much to Neil's dismay.
Enough was enough, so she decided to put all the prints in black frames to ensure her diverse hoard would pass as a curated collection and have a go at a gallery wall in the living room. Despite completing step 1 and 2, the thought of actually hanging the frames on the wall was a tad overwhelming as she was worried the end result would be terrible if she just started haphazardly hanging the prints with no forethought. However, after mulling it over for a long while and consulting google, she settled on a method which led to a gallery wall that she is pretty pleased with and makes her smile when looking back on that living room.
If the thought of hanging your own gallery wall is also sending you into a panic, have a read through of this pretty fool proof method and hopefully you will be admiring your own gallery wall in no time.
Happy hanging!
METHOD
1: Gather all the prints you would like to include in your gallery wall.
2: Put your prints in photo frames.
3: Choose a location for your gallery wall.
4: Using paper, create templates of all your frames and label them.
5: Stick the templates to your wall using bluetac, playing about with the arrangements until you have settled on an overall layout you like. (It is a lot easier to remove a piece of paper than a frame that is nailed to your wall).
6: Once you have a template layout you like on the wall, recreate the layout on the floor using your actual prints. This allows you to see if the overall colours and prints are also working together.
7: If something looks off, have another play about with the layout until you are happy with the overall design.
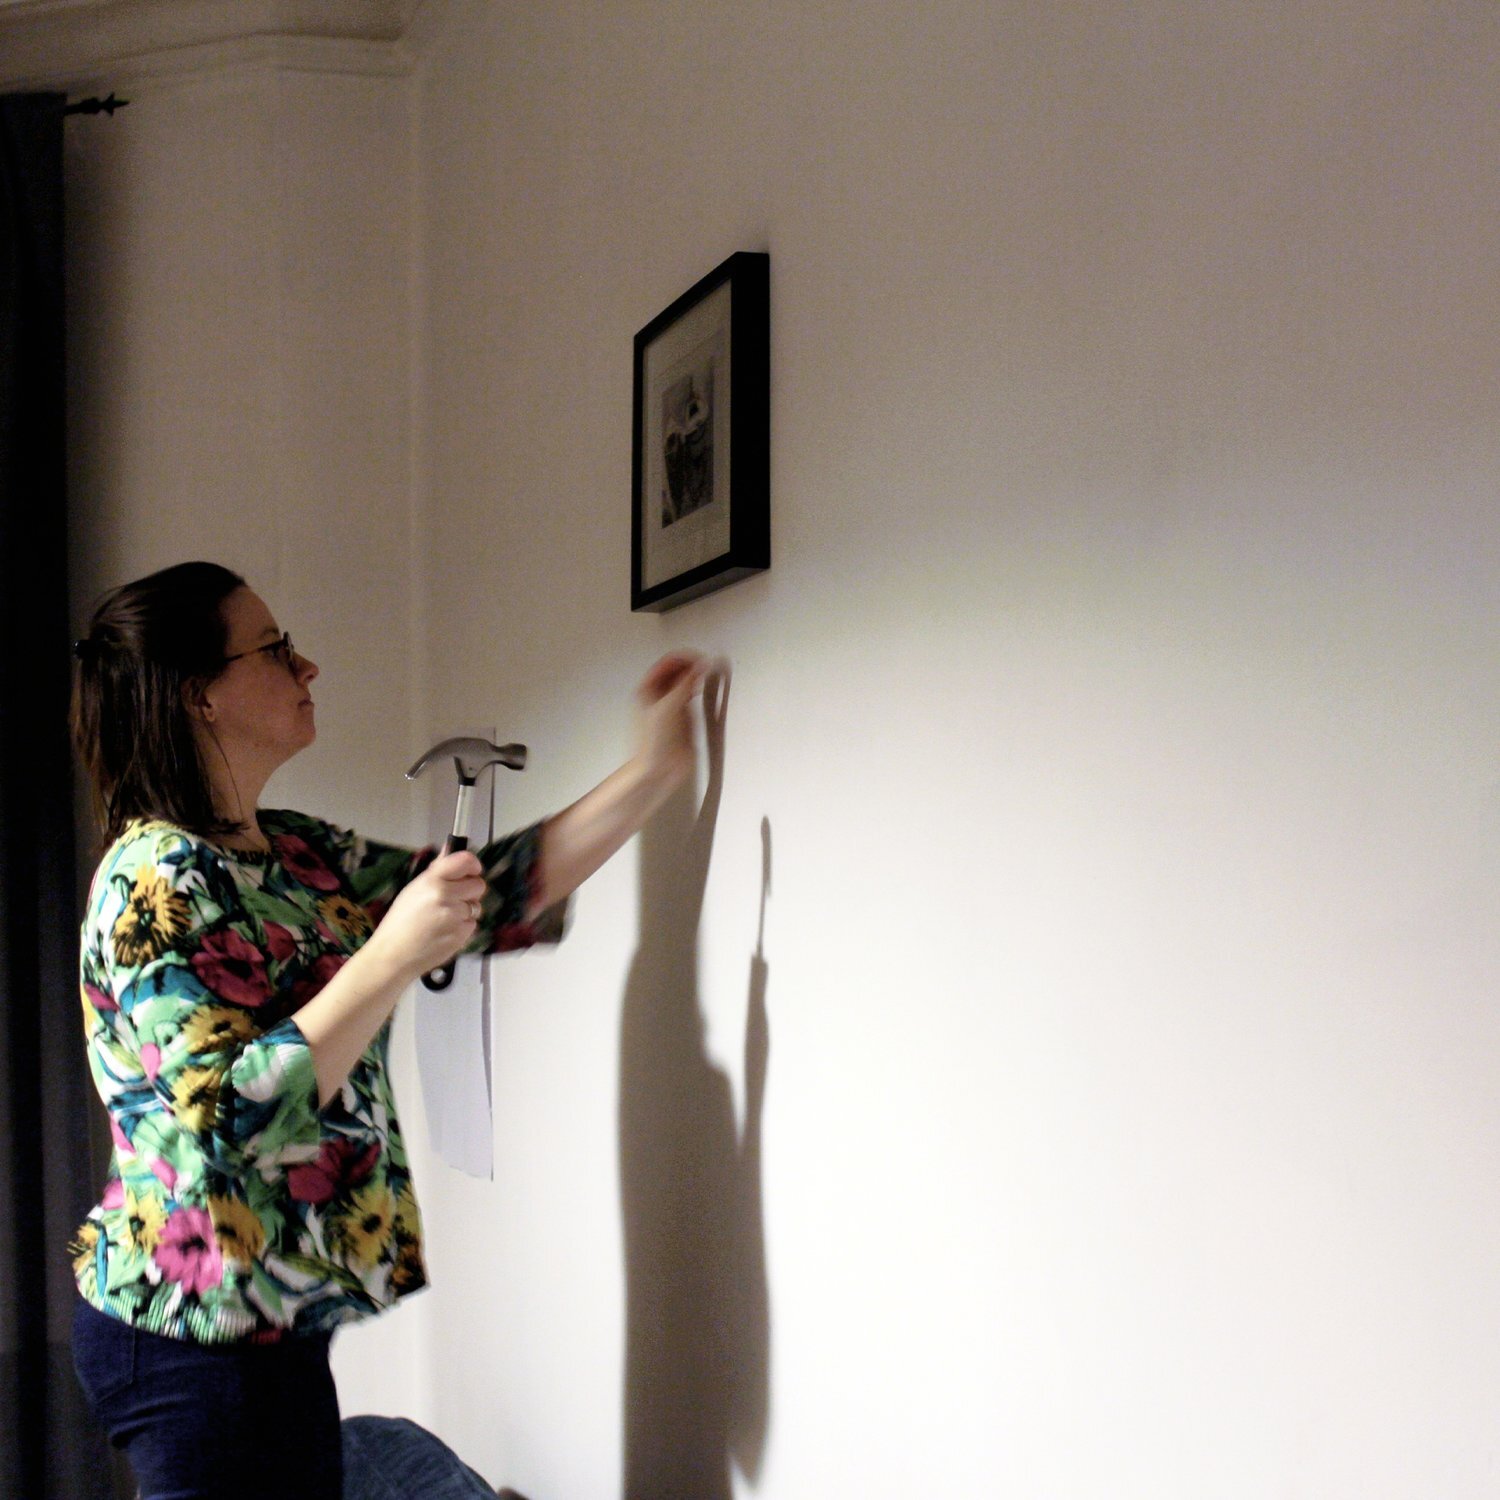
8: Start hanging. Lorna started with the central column pictures as she had an oval shaped gallery wall on a large blank wall and wanted to ensure the overall gallery wall was centered on the sofa.
9: Keep hanging until you have added all your prints.
10: Enjoy!
TIPS, TRICKS AND LESSONS LEARNED
If you prefer a theme over the eclectic curation you could choose a colour scheme (shades of blue, pastels, bright colors, primary colours etc.) or a subject (animation, portraits, quotes, drawings, animals etc.)
You don't need to stick to one frame colour or frame type. Choose coloured frames in different sizes to add interest to basic prints or scour the charity shops for a collection of antique frames for a vintage vibe.
If you don't want to put holes in your wall or live in a rented flat, use the hanging strips like these. However, just make sure that they are compatible with your frames before purchasing a lot as they were too wide for Lorna’s Ikea frames.
Lorna used traditional picture hooks as she found this was a tad more forgiving when trying to line up the frames and make sure they were straight.
You don't need to use all your prints if the layout isn't working for you. There will be another perfect spot in the house for those prints that just aren't clicking with the rest.
You can add blank frames in to get an overall layout you like and fill them in later once you have found the perfect print to add to the collection.
You can ignore all these tips and just start hanging for a wilder, more carefree look.


